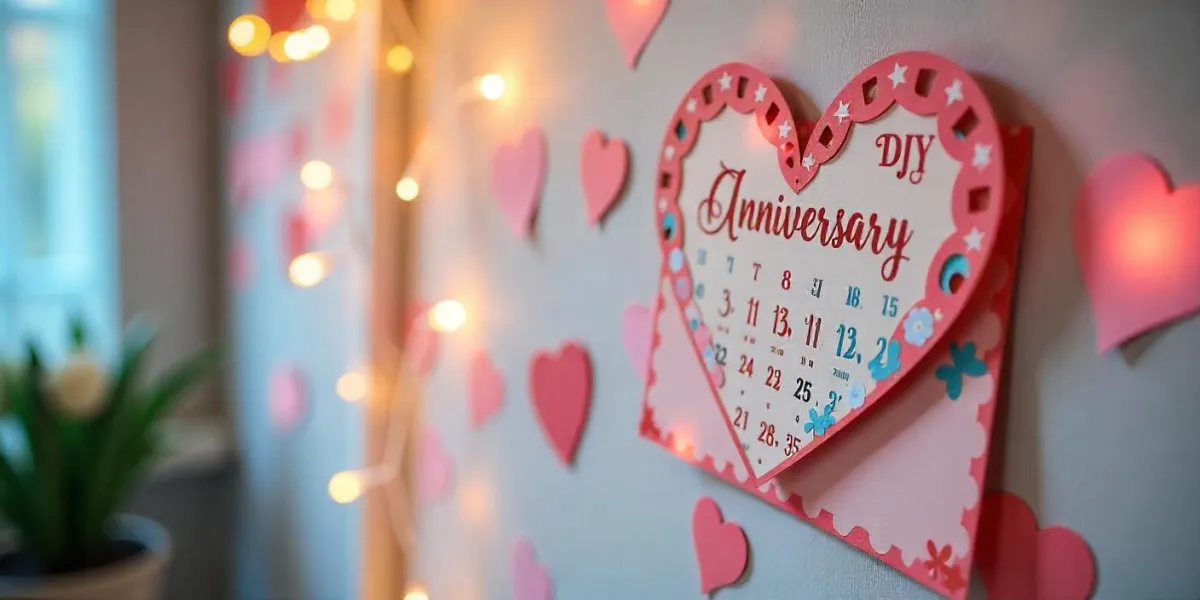
How to Create a DIY Anniversary Countdown Calendar
Celebrating anniversaries is a wonderful way to commemorate love and relationships. A DIY anniversary countdown calendar adds a personal touch to the celebration, allowing you to build excitement leading up to the special day. Here’s a step-by-step guide on how to create your very own countdown calendar!
Materials You'll Need
Base: A sturdy cardboard, wooden board, or a blank canvas.
Decorative Items: Stickers, washi tape, colored markers, glitter, and any other embellishments you like.
Small Envelopes or Pockets: These can hold notes, small gifts, or treats for each day.
String or Ribbon: For hanging the calendar if desired.
Scissors and Glue: For cutting and adhering items.
Number Stickers or Cards: For marking each day leading up to your anniversary.
Steps to Create Your Countdown Calendar
Step 1: Decide on the Design

Choose a layout that resonates with you and your partner. Will it be a wall hanging, a table centerpiece, or something you can set on a shelf? Determine the size based on how many days you want to count down—typically, this could be from 1 to 30 days before your anniversary.
Step 2: Prepare the Base
Cut your base material to your desired size. If you’re using a canvas, you can leave it as is. For cardboard or wood, you might want to paint it or cover it with decorative paper to make it visually appealing.
Step 3: Create the Countdown Elements

Mark the Days: If you want to count down the days, you can either:
Use number stickers or write the numbers directly on the base.
- Create small envelopes or pockets for each day. You can attach them in a grid pattern or line them up vertically/horizontally.
- Add Decorative Touches: Use stickers, washi tape, or markers to decorate each pocket or space. This is a great time to personalize it with your favorite colors, quotes, or even photos that represent your relationship.
Step 4: Fill the Pockets or Envelopes

Now comes the fun part! Fill each pocket or envelope with special surprises. Here are some ideas:
Love Notes: Write a note expressing your feelings, a favorite memory, or something you love about your partner.
Small Gifts: Consider tiny treats like chocolates, coupons for a special dinner, or tokens that represent experiences you want to share together.
Activities: Suggest activities to do together, like a movie night, a picnic, or a game you both enjoy.
Step 5: Hang or Display Your Calendar
If your countdown calendar is designed to be hung, attach some string or ribbon to the top and find a perfect spot on the wall. If it’s a tabletop version, place it somewhere noticeable where you both can enjoy the anticipation.
Step 6: Start the Countdown!

As your anniversary approaches, enjoy opening a new pocket or envelope each day. Reflect on the memories, share a laugh, or enjoy the treats together. This daily ritual can enhance the excitement and strengthen your bond.
Conclusion
Creating a DIY anniversary countdown calendar is a thoughtful and creative way to celebrate your relationship. Not only does it build anticipation for your special day, but it also offers a unique opportunity to connect and reflect on your journey together.
With just a few materials and a little creativity, you can craft a beautiful countdown calendar that is personalized and meaningful. So gather your supplies, unleash your creativity, and start counting down the days to your anniversary!